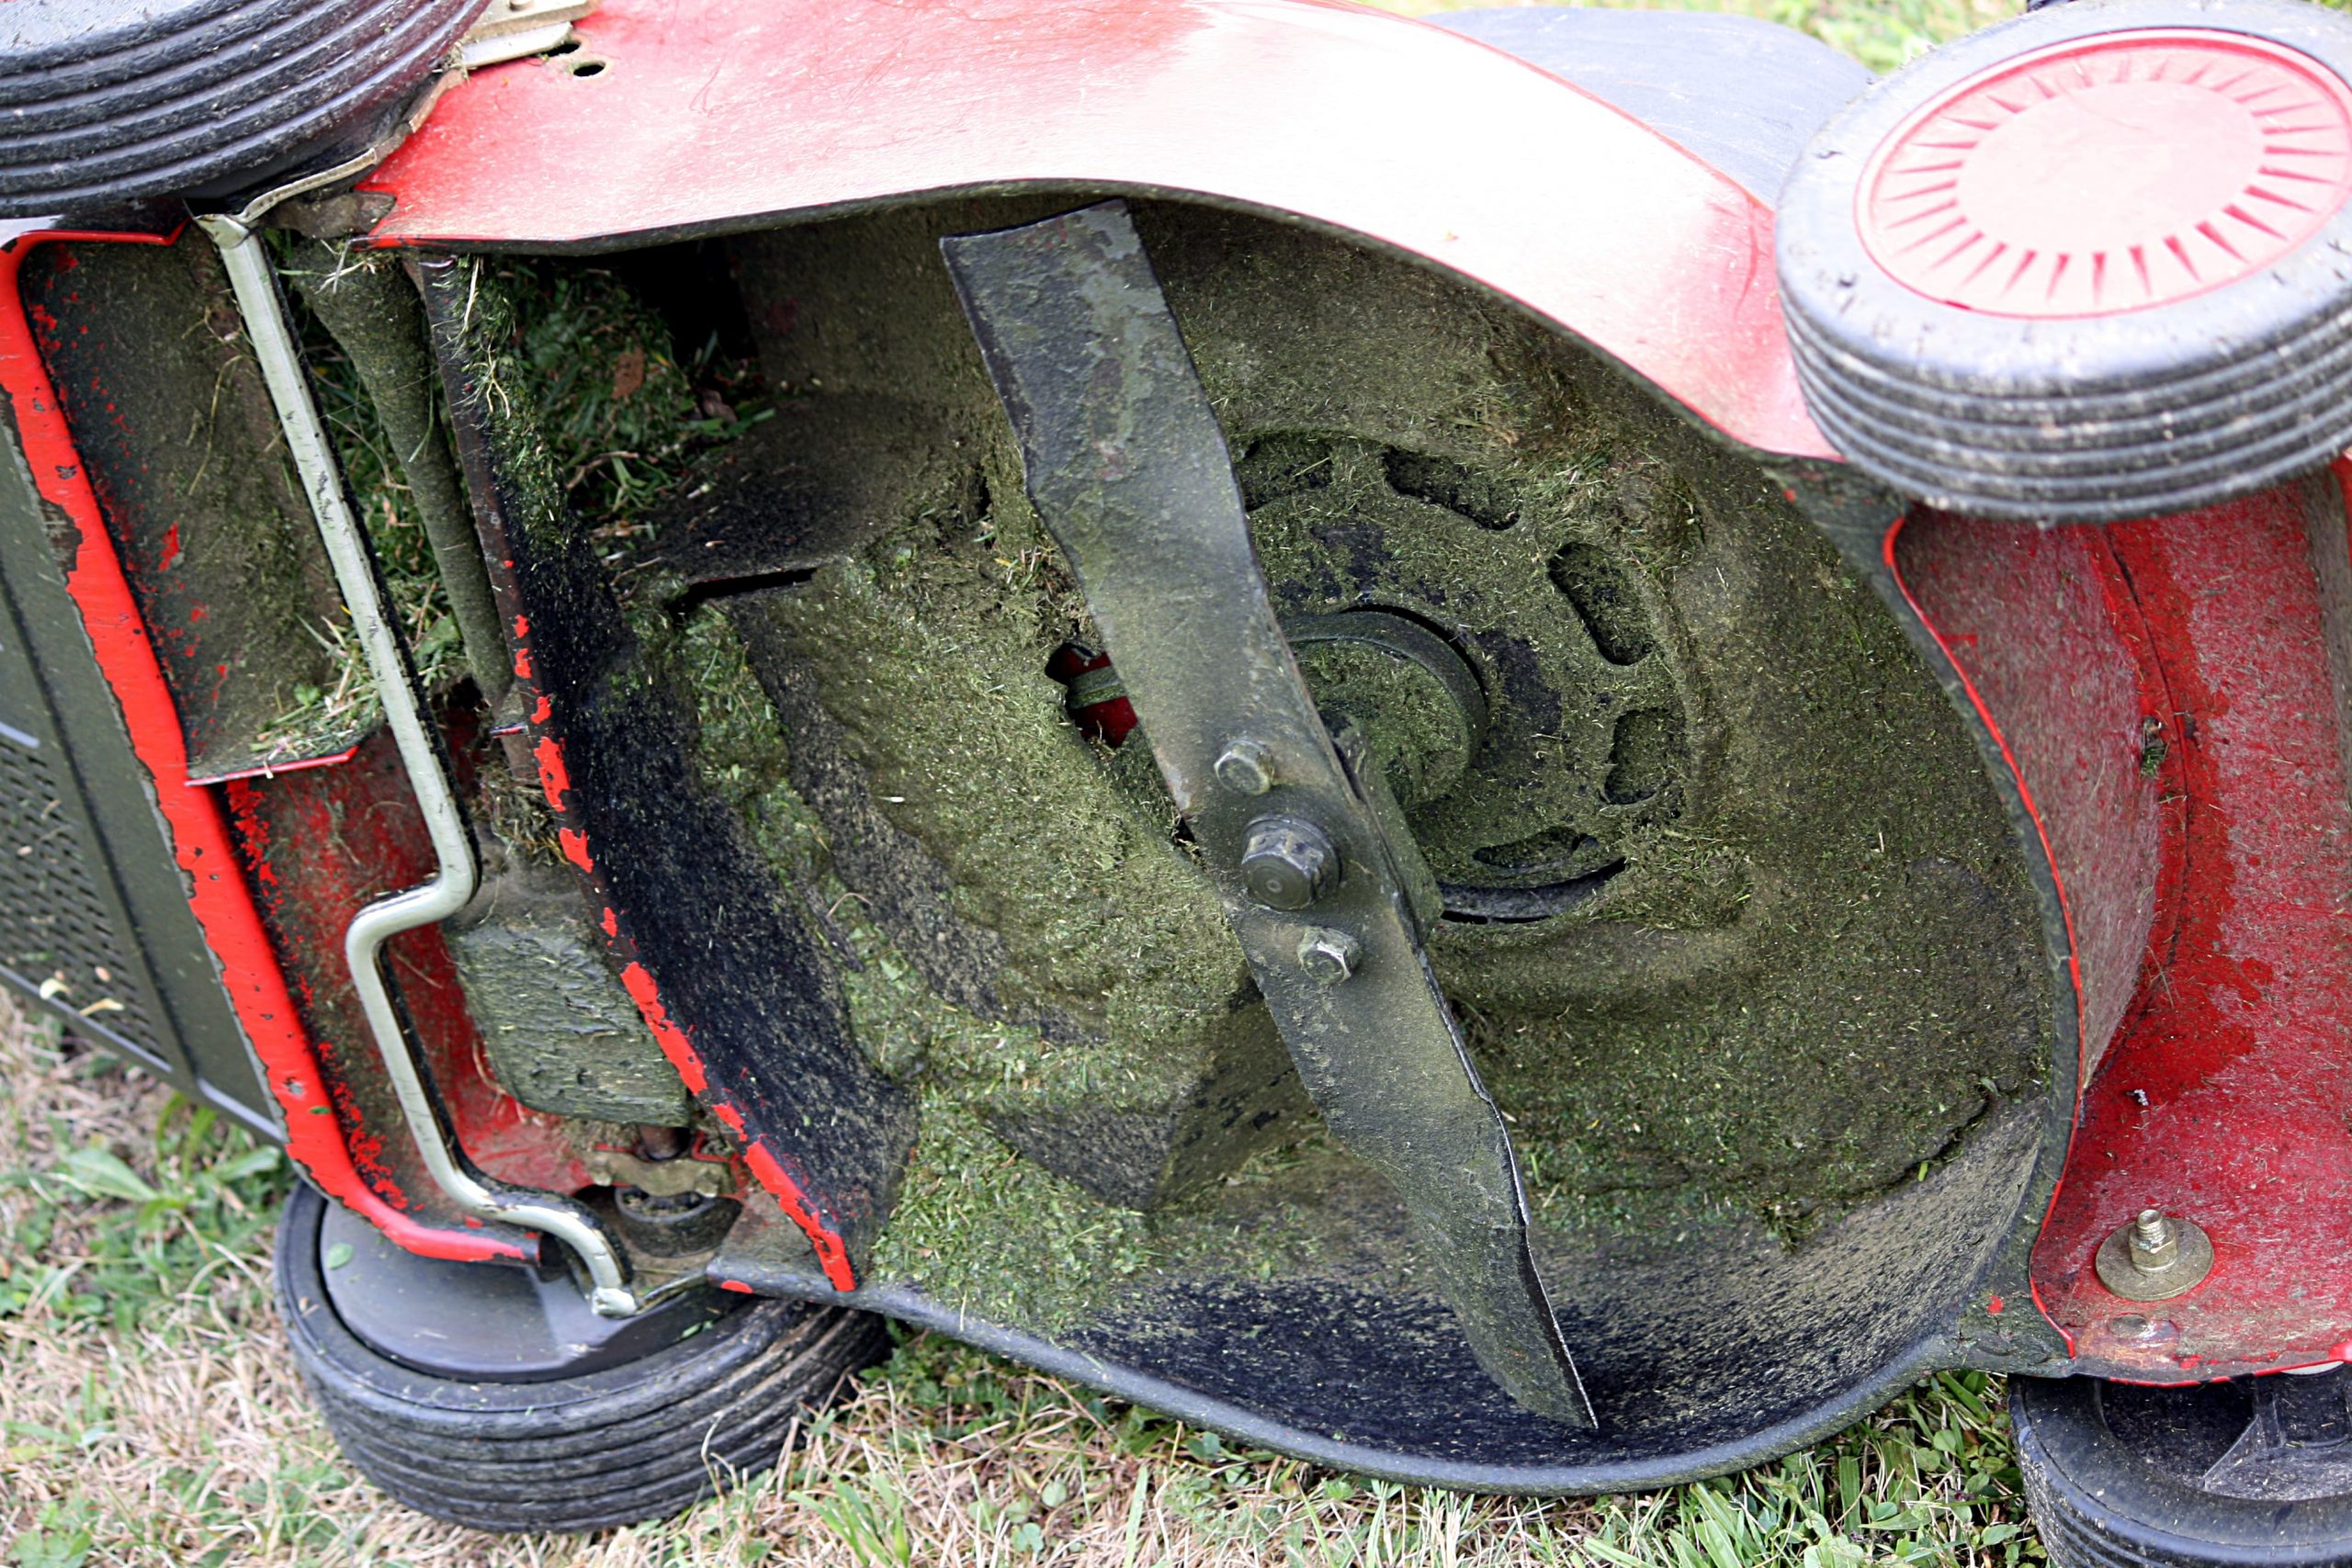
With regular use, your lawn mower blades will eventually become dull. This results in them ripping rather than cutting you grass, resulting in a ragged look, and potentially damaging your lawn in the long term.
If you have a mower with metal blades, you can sharpen them to return to maximum mowing effectiveness.
Here’s how to sharpen mower blades.
How to sharpen lawn mower blades
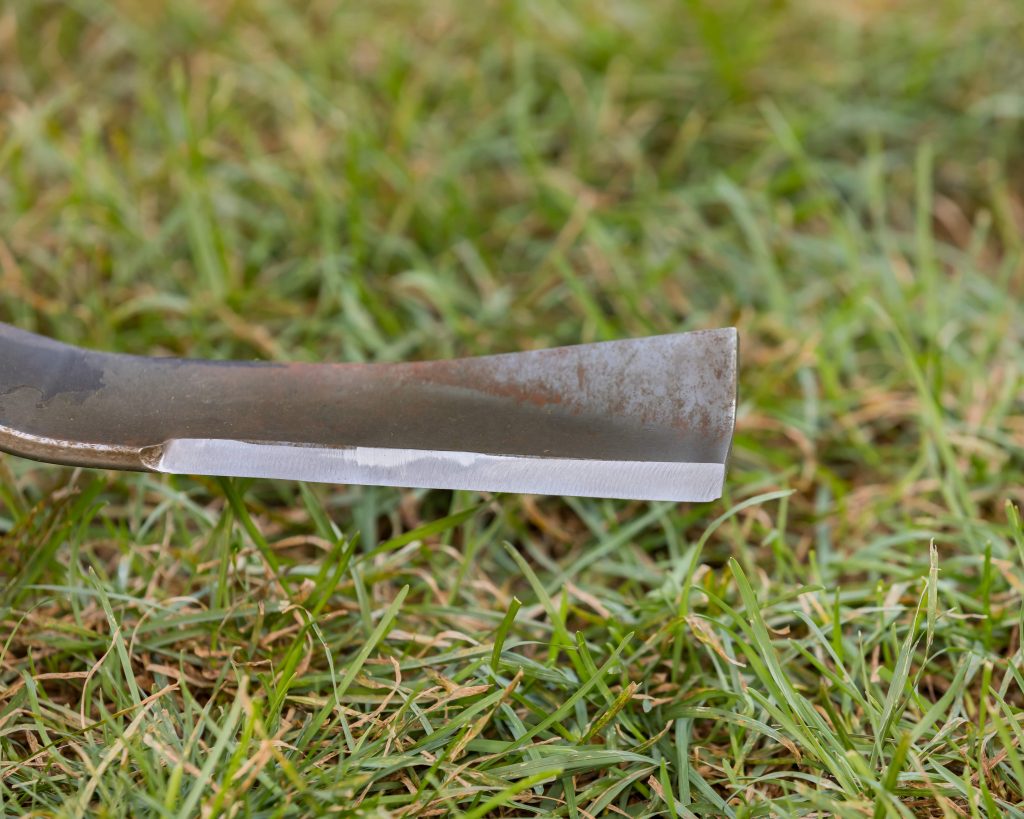
Note: this tutorial is for rotary mowers with metal blades, not cylinder or ride-on lawn mowers.
1. Preparation
To sharpen mower blades, you will need:
- Safety gloves
- Safety glasses
- Wrench or spanner
- WD-40
- Old rag (for cleaning the blade)
- Hand file
- Vice (optional)
- Blade sharpening drill attachment (optional)
- Blade balancer (optional)
Once you have what you need, disconnect the mower from its power source. If it’s a petrol mower, you should remove the spark plug for safety reasons. And if it’s a battery mower, remove the battery if possible. For electric corded mowers, you’ll want to ensure it’s unplugged. If you have an electric mower, it won’t have a spark plug.
You don’t want the blades to start turning while you’re working on your mower.
Then, turn the mower on its side so that you’re looking at the cutting deck.
2. Removing the blade
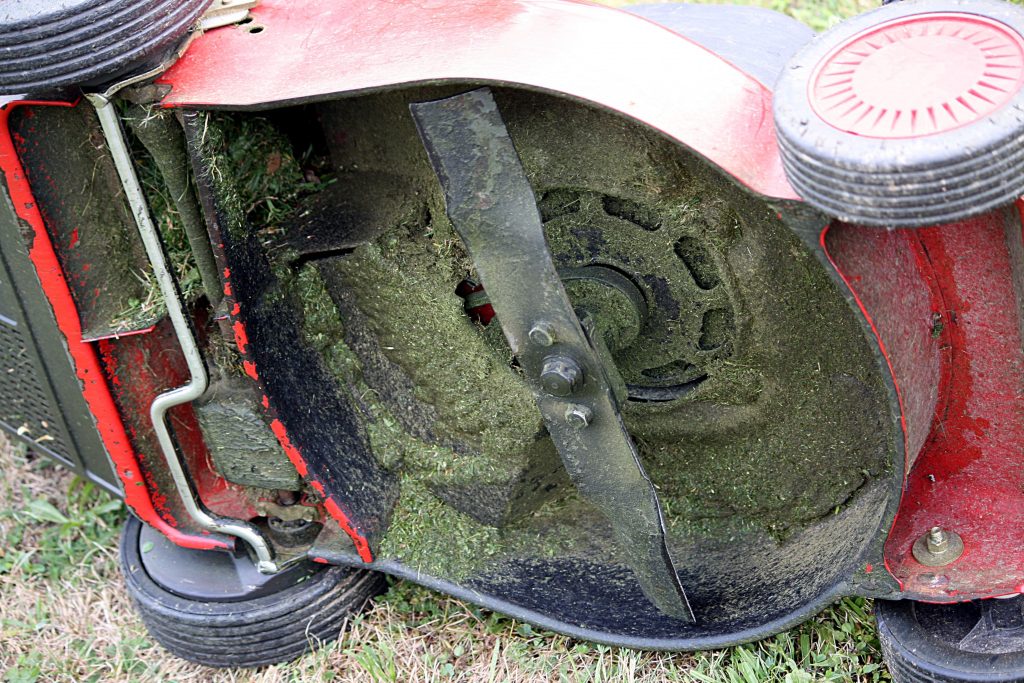
Don your safety gloves, as even the dullest of mower blades could still cut you.
Before you remove the blade, mark the bottom side with spray paint or a Sharpie. One of the biggest mistakes people make is to put the blade back in upside down. If you do this, the mower won’t cut, and it can be difficult to find out why.
Most mower blades are held on by a nut, which often becomes very tight over time. Loosen the nut or bolt by turning it counterclockwise, then remove the blade, using the WD-40 if it’s not coming loose easily.

3. Clean the blades
Before you begin sharpening, you want to remove any rust, dirt, or grass clippings from the blades. This will allow you to sharpen them more easily.
To clean your mower’s blades, use your rag. If the blade is extremely dirty, you may want to use soap and water to remove dirt that’s really stuck on. If you do use water, ensure to dry off the blade once you’re done.
You might want to take the opportunity to clean your cutting deck at this point. Remove any caked-on dirt or grass clippings you see, to maintain the health of your mower.
4. Sharpening the blades
Now you’re ready to begin sharpening your blades.
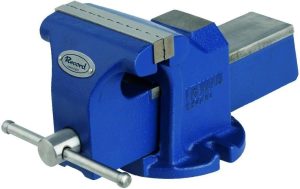
Put on your safety glasses, and clamp the mower blades in between a vice or a clamp, if you have one. If you use a vice, clamp the lawn mower blade in the middle, with the cutting edges sticking out. Remember, the cutting edge doesn’t span the complete width of the mower blade, so you’ll be fine to clamp it in the middle.
If you don’t have a vice, you can hold the lawn mower blade with your weak hand while you sharpen it, being careful to sharpen the blade away from your body.
Begin to sharpen the blade with your metal file. Work by pushing the file along the top side of the lawn mower blade, from the inside edge to the outside edge.
When you sharpen the blades, you want to ensure that you maintain the same cutting angle that the blade had when it left the factory. Typically, your cutting edge will be about 45 degrees. If you’re unsure what the cutting edge is from visually inspecting the blade, you may be able to find out the cutting angle by looking in your mower’s manual.
Remember, the blade only needs to be about as sharp as a butter knife. You don’t need a razor sharp blade to do a good job cutting your grass. Use no more than 50 strokes to ensure you don’t oversharpen each side.
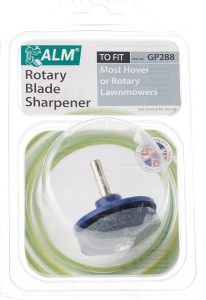
If you have a drill, and want to make the process more efficient, you can also use a drill-powered blade sharpener. They have a grinding stone attached, helping to make the sharpening process much more efficient. However, for beginners, they can make it easy to over-sharpen your lawn mower blades – so be careful.
5. Balance the blade
Before you put the blade back, it’s important to balance it to ensure you haven’t taken too much off either side.
If your blade is unbalanced, this can cause increased vibrations when mowing and increase engine wear.
The easiest way to check your blades’ balance is to hang it on a nail attached to a wall, through the centre hole. Hang the blade horizontal to the floor. If a given side tips vertically towards the floor, it’s too heavy, and you’ll want to sharpen it more.
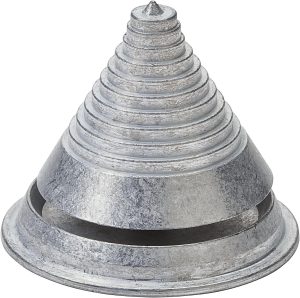
If you don’t already have a convenient hole in a wall somewhere, you can use a specialised device to check the balance of your lawn mower blade.
View on Amazon
With these gadgets, you place the balancer on a level surface, and then place the blade on top. The different levels on the balancer ensure that the blade will fit. If the blade tips to one side after you rest it on the balancer, it’s unbalanced, and will need more filing.
6. Reinstall the blade
The final step is reinstalling the blade.
Use the marking you made earlier to position the blade the right side up. Then you can slot it into position, and use the nut or bolt it was attached with to put it back into place.
Ensure that the blade is tightened well. A loose blade can be dangerous, and it can also make the mower more difficult to start.
Now you can take your mower’s sharpened blades out for a test drive.

I’m Josh, and I’m the head writer at Lawn Care Pro.
I love everything lawns, but I’m a bit of a lawn mower nerd. I spend a lot of my free time tinkering with mowers, and planning my mowing schedule for the next few weeks.
I’m also into cars, which comes in very helpful when servicing a mower engine!

