

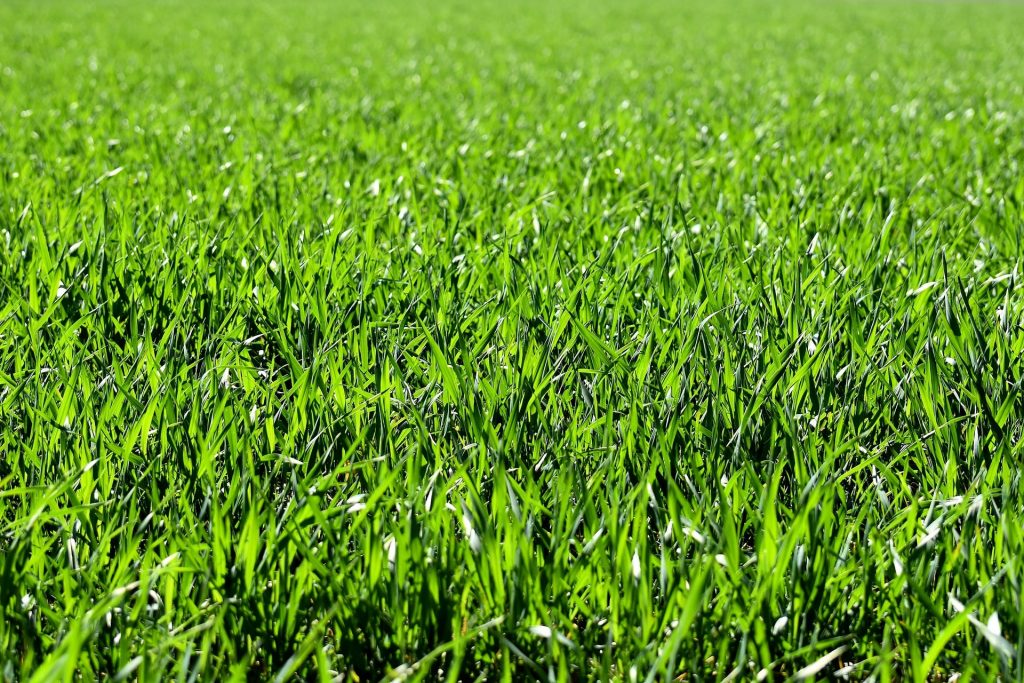
If you don’t have the time to maintain your lawn, or you have a small area of grass that you would prefer not to bother cutting, replacing grass with gravel is actually quite simple to do.
When installed correctly, gravel is a low-maintenance way of making your garden look nicer. Plus, it offers great drainage, and handles foot traffic with ease.
However, you need to be careful when replacing part of your lawn with gravel. You can’t just lay gravel over grass, or you’ll end up with a weed-filled, uneven mess.
Here’s how to go about laying gravel over grass and make your garden more low maintenance – the right way.
1. Remove the grass
At this stage, you might be wondering: do I really need to remove all the grass before laying gravel?
The answer is yes – you need to remove the grass and expose the soil before laying down gravel. It’s not a good idea to gravel over grass without removing the lawn first.
If you leave the turf in place, rather than replacing it, this will result in a very uneven finish as the grass decomposes over time. Leaving the grass may also make it more likely to have weeds or grass shoots grow through the gravel over time, which are difficult to remove without resorting to weedkiller.
To remove the sod, first cut the grass as short as you possibly can, collecting the grass clippings as you mow.
Then, you have a few options for removing the grass, depending on the amount of grass that’s got to go.
Option 1: Remove the sod by hand, using a shovel
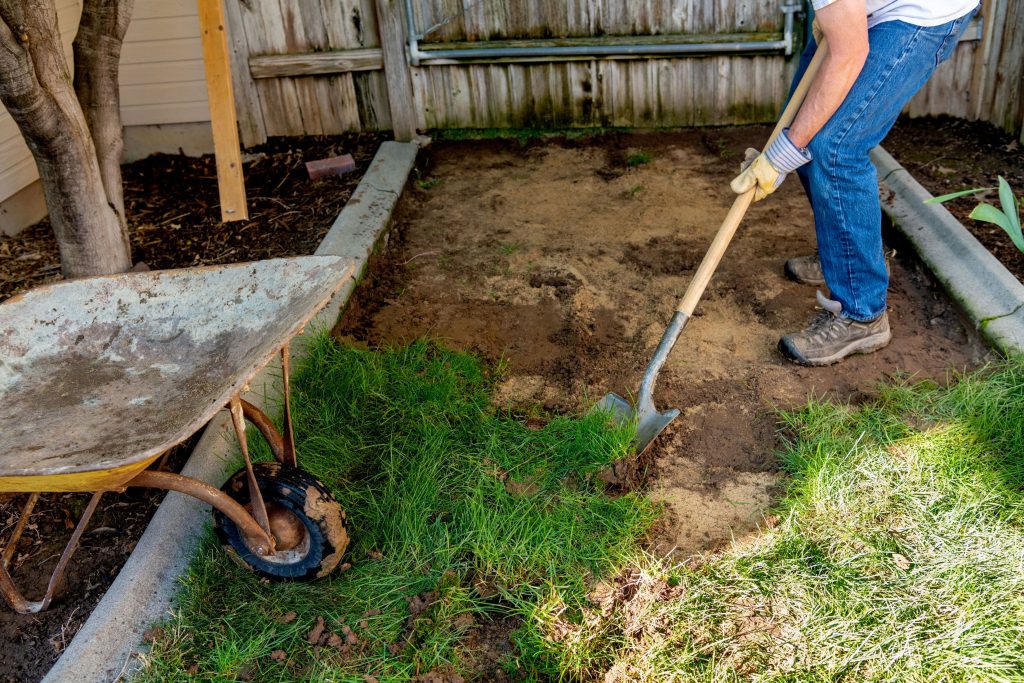
Prior to starting the remove the sod, ensure that the grass is slightly wet. Trying to penetrate a dry lawn with a shovel is a recipe for a sore arm. However you don’t want to lawn to be too wet, otherwise it will be extremely heavy, making the sod difficult to lift.
Get a large shovel (or perhaps a lawn edger) and begin to cut the sod into strips about the width of your shovel.
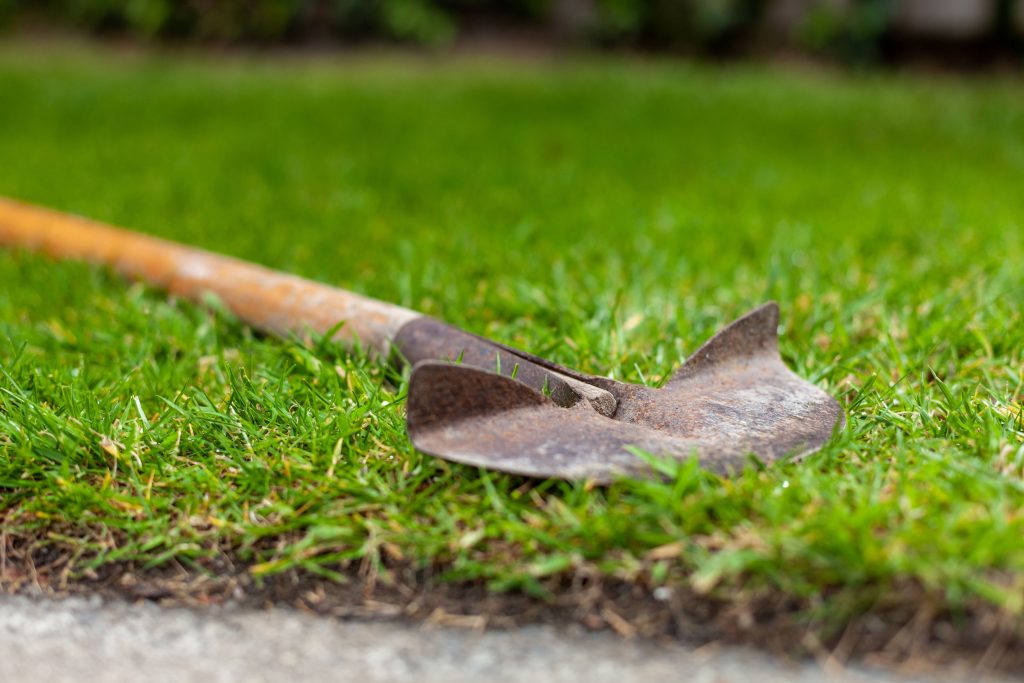
Then, using a shovel with a sharp blade, cut through the taproots from below, digging up the lawn. Aim to roll up the sod along the strips you’ve cut, to maximise efficiency. You can also use a garden fork – because they’re lighter than shovels, they make it easier to lift the sod.
To carry away the sod, you can use a wheelbarrow, or a sled. The benefit of using a sled is they’re lower to the ground than wheelbarrows, so you’ll have less lifting to do to put the sod where it needs to be. However a regular wheelbarrow will be fine if you’re only removing a small amount of grass.
Option 2: Smother the lawn
This method is best for larger lawns. Smothering your lawn takes time, but involves a lot less physical work.
Your goal is essentially to starve the lawn of air, light, and water. You therefore want to cover a bit over the edges of the area you want to place the gravel, to ensure that no water seeps in.
To smother your lawn, the best thing to use is a thick tarpaulin or old carpet. Ensure to tether it to the ground securely using pegs, and consider weighing it down in the middle to make it more secure.
You will need to smother the grass for at least two weeks in order to kill it. After three weeks, the dead grass should have decomposed, and you will have a mostly clear area of dirt, suitable for laying gravel.
Option 3: Use a heavy duty weedkiller
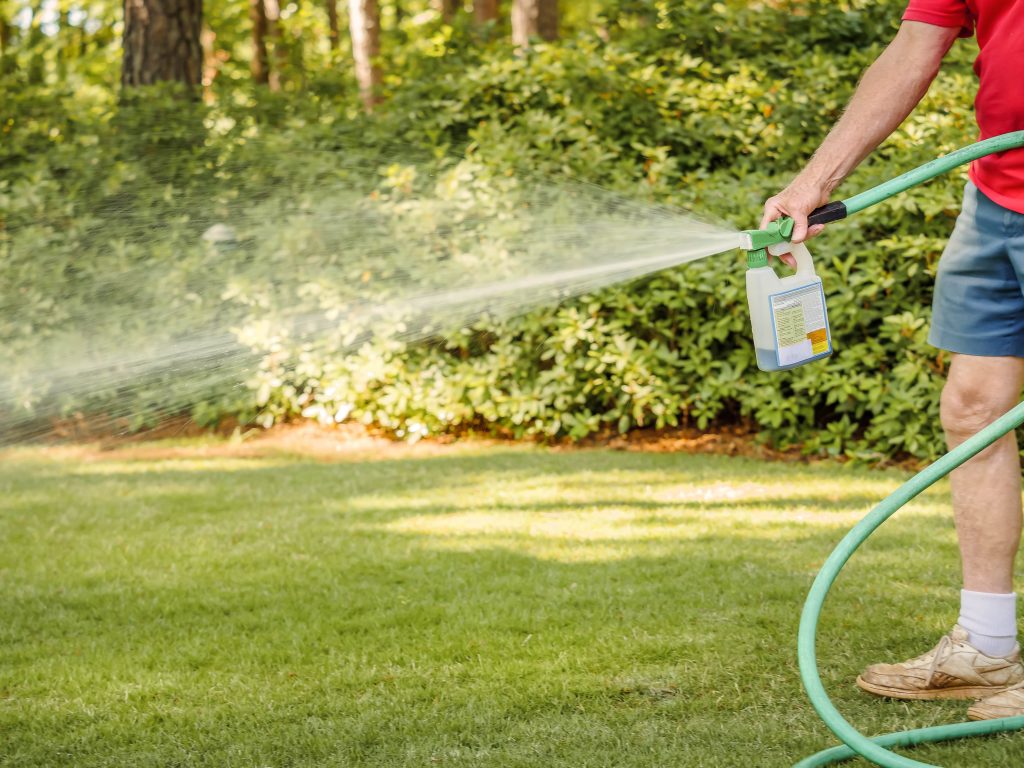
If your lawn is very well established, you might have trouble cutting through the roots with a shovel or a lawn edger, and smothering might take too much time. Fortunately, there are some weedkillers out there designed specifically for killing grasses.
Weedkillers should only be used as a last resort, as they can be harmful to children and pets, and they can upset the soil’s nutrient balance. Weedkillers also aren’t very suitable for large areas of lawn – they can be difficult to apply in the correct quantity over large areas, unless you have a backpack compression sprayer.
Multiple applications of weed killer may be necessary to get the job done, but if it rains after you spray, the herbicides you applied will be washed into nearby waterways, affecting the local ecosystem. Therefore, you need to be careful to only apply herbicide when the weather is going to be dry for the next few days, which may prove difficult if you’re in the UK.
For more information on these three methods, read our guide on removing grass from your garden.
2. Laying a protective membrane
Once the lawn is gone, you can technically lay the gravel onto the dirt directly. However, if you do this, you may soon have large numbers of weeds growing through your gravel, which can be very difficult to get rid of.
This is an optional step, but to prevent weed growth, you want to use a special material known as weed membrane. A weed membrane is a layer of landscape fabric that water can drain through, but will block weeds from growing up through your gravel. It essentially acts as a ground cover for the drain.
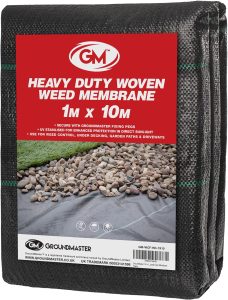
To choose the right type of weed membrane, consider how much foot traffic the gravel above it will get. You can use a thinner membrane if the gravel won’t often be walked on, but you’ll want a nice thick weed membrane if making a gravel path, to ensure that the fabric lasts for a long time.
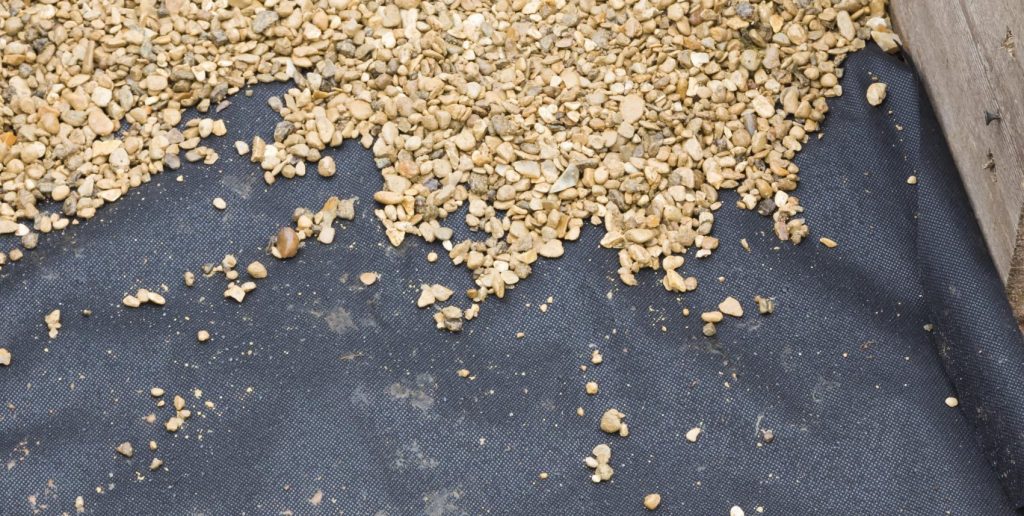
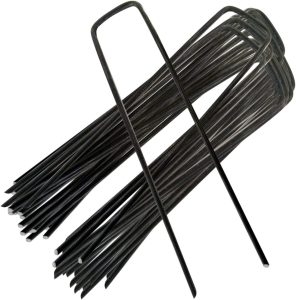
Prior to putting it down, remove any debris such as sticks and rocks from the ground, giving the weed membrane a flat surface to rest on. Push the membrane into place, and secure it in place using garden staples and a mallet. You will want to use a staple every 10cm or so on each side of the membrane, and you can also use large stones to keep the fabric in place, as they won’t affect drainage.
Even if you get thick membrane, you will be able to cut it to size using good quality scissors. It’s often a good idea to cut strips of fabric, lay it down, and then trim off any excess once it’s placed on the ground. It can be very hard to get the right size pieces if you try to cut the membrane exactly to size before putting it down.
Also, don’t be afraid to overlap the membrane slightly in places, even if it’s quite thick. As long as you only use a single layer over the lowest points, you won’t create any drainage issues by using a bit of overlapping.
At this point, you might be wondering whether you can lay the weed membrane directly onto the grass, without removing the grass layer first.
Although the lawn will decompose once smothered in fabric, it will likely decompose unevenly. This will leave the membrane uneven, and it could become even more uneven over time. Plus, if you put the membrane down immediately, you won’t have the opportunity to remove sticks and other debris from the soil. This can increase the risk of the fabric being pierced over time, leading to weeds growing on your gravel path.
3. Choosing the right type of gravel
There are a few different types of gravel you might want to consider using in your garden, whether using it purely decoratively, or for a walkway.
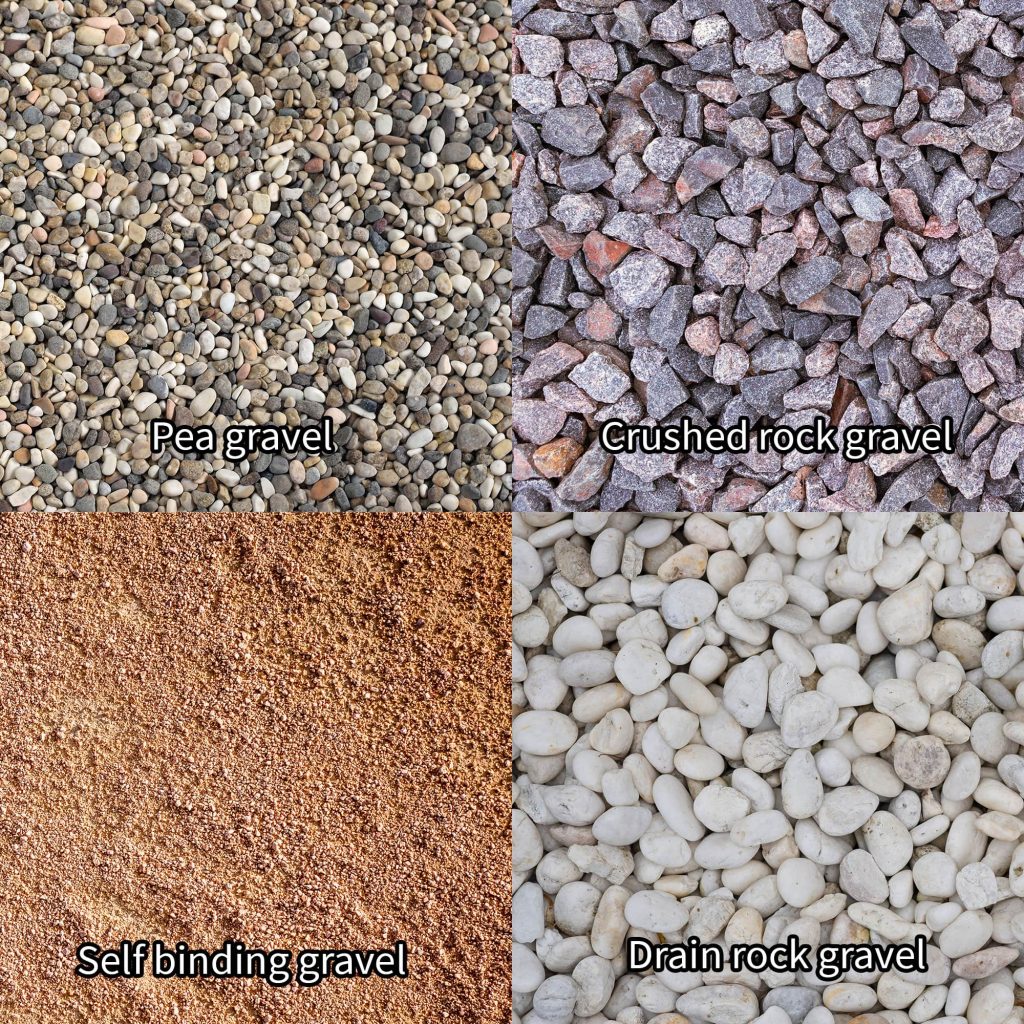
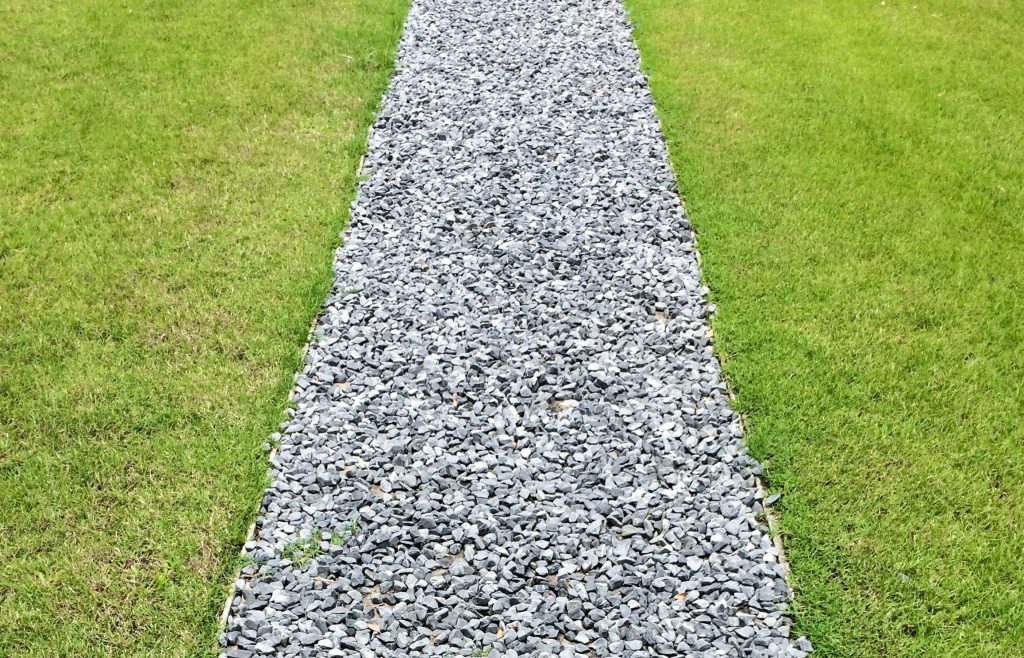
- Pea gravel is the most common type used on pathways and on garden patios. This type of gravel has been tumbled to ensure that it’s nice and smooth, giving it a very rounded shape. The name comes from the size of each piece of gravel – about the size of a pea.
- Crushed rock is a much less processed type of gravel. It’s slightly larger than pea gravel, and the stones are sharp, because they have not been tumbled. The benefit of crushed rock is the gravel will be more compact and will stay in place more easily, because it’s much more rough. However, you wouldn’t want to walk on it in bare feet.
- Self binding gravel is about the finest type you can buy, and is very commonly used on paths. It’s very firm, making it great for using anything on wheels, and is low maintenance. These types of gravels are also known as path fines.
- Drain rock gravel is the largest type of gravel you can buy. Because the rocks are so big, there is plenty of room for water to drain. However, this type of gravel can shift easily when walked on, and isn’t the best for paths due to its lack of stability. Drain rock is often used on hardscapes where drainage is a concern, such as driveways and French drains.
Different types of gravel are available in different colours.
- Grey – pea gravel, crushed rock, self-binding, and drain rock.
- Beige – pea gravel, self-binding,
- Reddish-brown – crushed rock, drain rock.
- Tan – pea gravel, crushed rock.
4. Laying the gravel
Once you’ve found the right gravel and have the weed membrane in place, you can begin laying gravel to finish off your hardscape.
- Remove any debris from the top of the fabric. Sticks for example will take a long time to decompose sitting under the gravel.
- Begin pouring the gravel gradually, using a wheelbarrow, or you can use a spade if you’re only creating a small gravel area.
- Ensure a relatively even distribution of gravel, because you don’t want to put too much weight on a small spot. Doing so could cause the gravel to sink with the membrane, making the trench uneven.
- Once you’ve finished laying the gravel and have an even surface, give the gravel a good soaking with the hose to settle any remaining dust from the bag.
Over the next few weeks, the gravel may sink a centimetre or so as it settles. This is normal in wet climates where the soil is very moist, because the layer of gravel you add will often be heavier than the sod you’ve removed.
If this occurs, feel free to top up the gravel slightly to ensure a flush finish.

I’m Josh, and I’m the head writer at Lawn Care Pro.
I love everything lawns, but I’m a bit of a lawn mower nerd. I spend a lot of my free time tinkering with mowers, and planning my mowing schedule for the next few weeks.
I’m also into cars, which comes in very helpful when servicing a mower engine!
Very helpful, simple and makes me feel confident I can do this