
If you’re about to lay new turf in your garden, you might be wondering how best to prepare the ground before putting down the sod, to give the turf the best chance of growing well.
In this guide, we’ve explained how to prepare your soil before laying turf.
Let’s get started.
Step 1: clear any grasses and plants

While you can lay turf on top of existing grass, it’s not a good idea. Doing so will often result in a lumpy lawn, as the old turf decays at an uneven rate. Therefore, if there is any grass remaining, you want to remove it. You can read our guide to removing grass to learn more about how to do this.
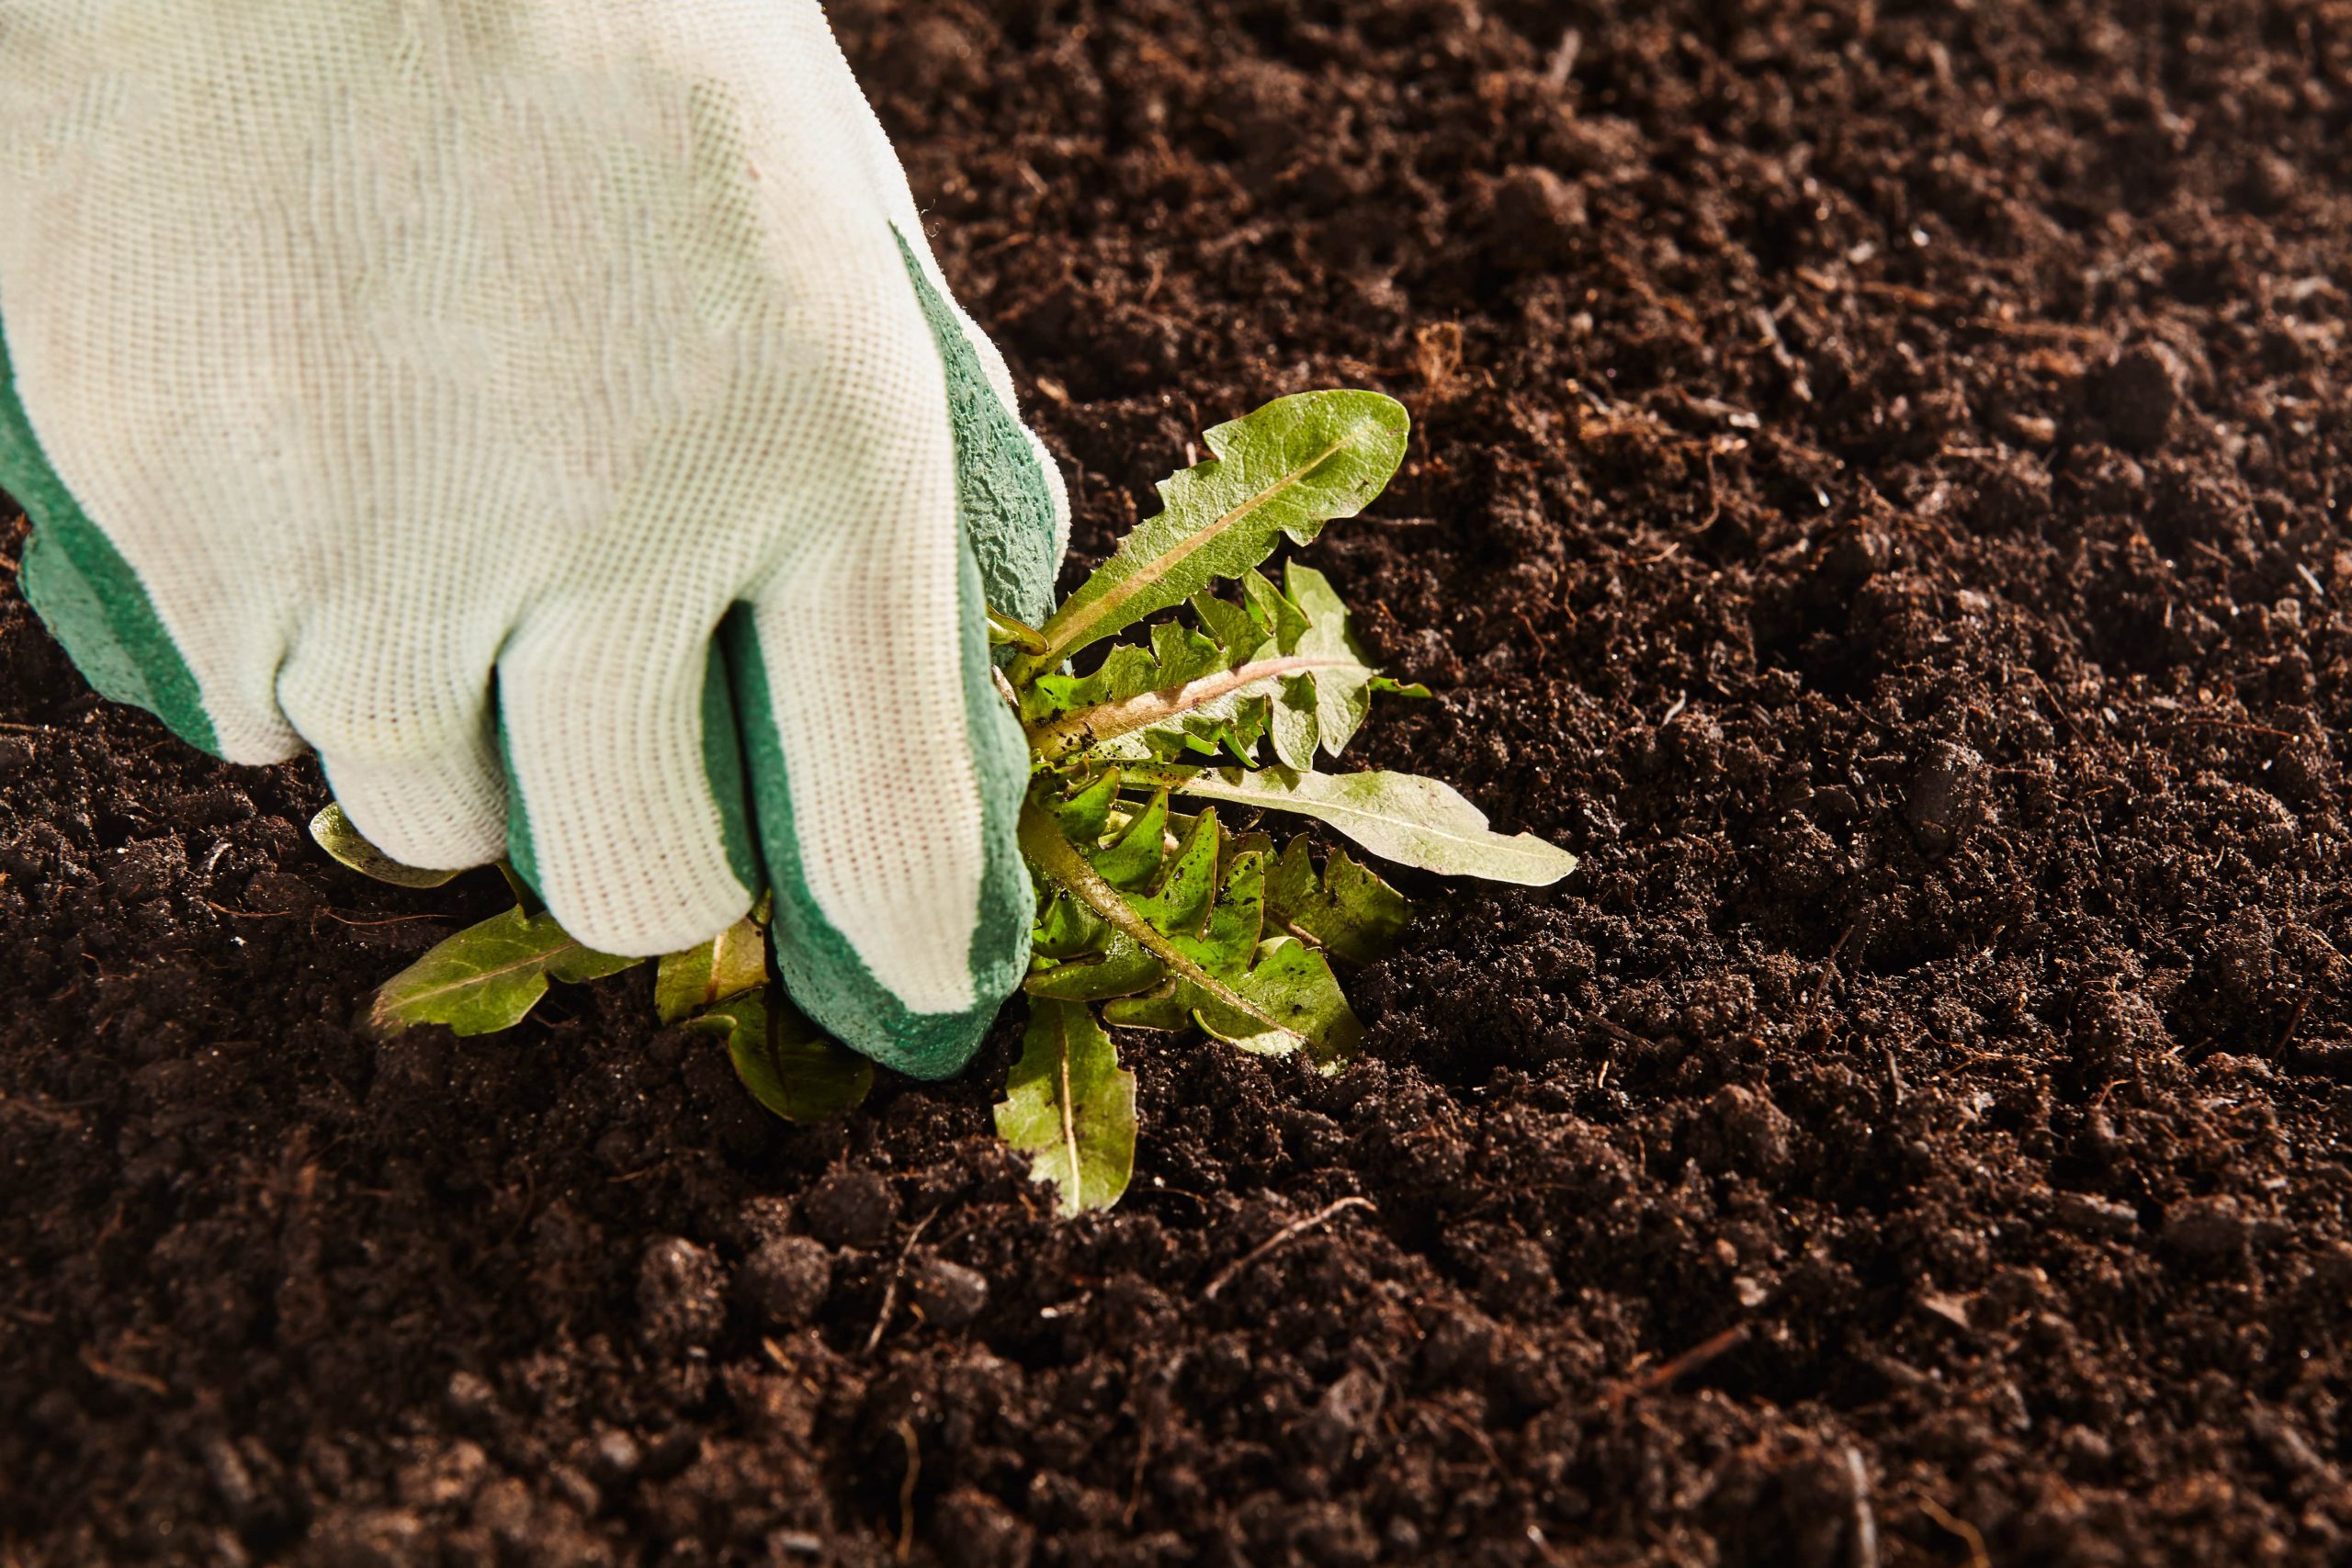
Also, pull out any weeds, as they will try to grow through your turf, and it’s much harder to remove them once the lawn is in place. You can use herbicides at this point, since you don’t have to worry about killing your grass just yet.
However, it’s best to pull the weeds out by hand if possible, because weed killer will also kill valuable microorganisms in the soil, which will be important to your new lawn’s health.
Step 2: remove any rocks and other debris
To give your new turf the best chance of growing well, it’s also a good idea to remove any pebbles, rocks or stones you can see in the soil. This will help to improve drainage, and prevents the turf’s root system from being blocked as it tries to take hold in the soil.
While you’re at it, also sweep up any leaves, twigs, and other debris. Doing this isn’t as important as removing stones or rocks, as leaves and other organic matter will eventually decompose. However, the problem is as it decomposes, organic matter creates a void, potentially resulting in uneven spots on your lawn – especially with larger objects, like pine cones. This is why it’s best to remove as much of this type of debris as possible.
Step 3: rotavate the soil
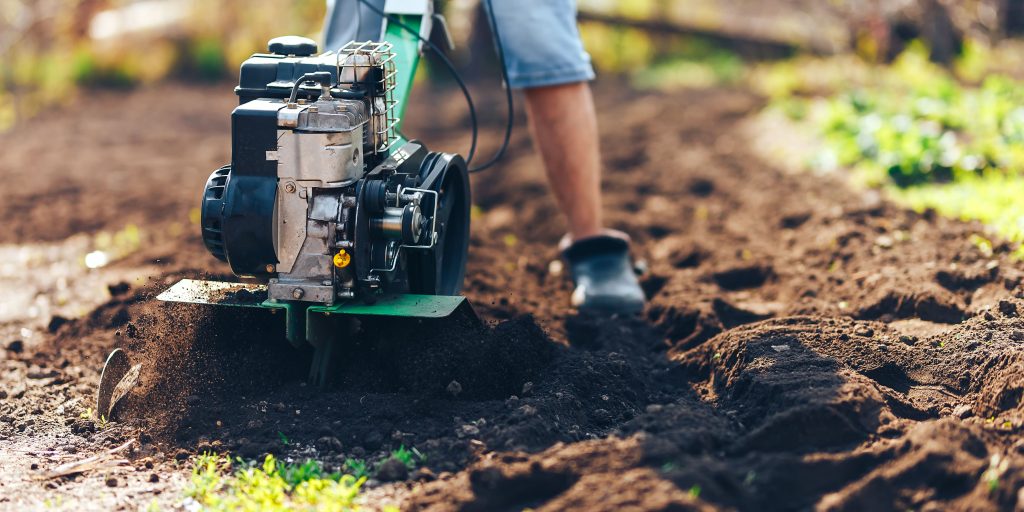
You want to rotavate the soil at this point for two main reasons:
- To till and aerate the soil, reducing compaction and making it easier for the turf’s roots to take hold.
- To uncover any further debris slightly below the surface, especially large rocks or building rubble, which is common to see if your house was recently built. If you do uncover this type of debris, you’ll want to remove it for the same reasons we described in step #2.
You can read our rotavator and tiller buyer’s guide to learn more about these types of machinery, and how to use them. You can hire a rotavator to avoid the expense of buying one – this is the best choice if you don’t have an allotment or other space that regularly needs tilling.
It’s best to rotavate to a depth of about 150mm if possible. Keep this in mind when choosing which machine to rent or buy, as different rotavators have different tilling depths.
Step 4: consider adding topsoil or sand
At this stage, your soil is nearly ready. You’re in a good position to assess the quality of the soil, and see if anything needs adding to give your turf the best chance of growing.
Good topsoil has a dark, rich colour, and doesn’t feel sandy nor sticky when you feel it in your hands. If you’re concerned about the quality of your topsoil, especially if it’s very sandy, you could consider adding some topsoil mix to your lawn. These products often come mixed with pre-turf fertiliser, which can help to support your lawn’s growth in its first few months. Compost is another good thing to add to improve soil health, if you have some available.

Also, if you have clay soil that is very sticky and doesn’t drain well, you could consider adding a small amount of gravel or sand, to help improve drainage. Don’t overdo it though, and ensure to mix in the gravel/sand well before laying down the turf.
Step 5: level the soil
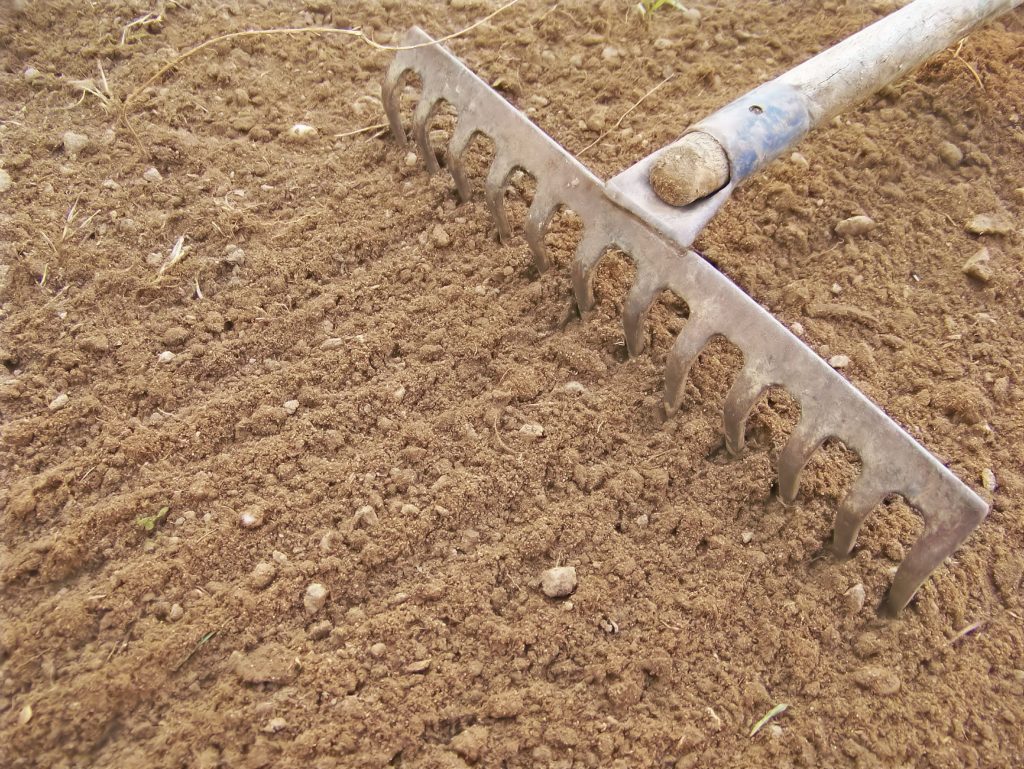
Now that your turf is ready, you should rake it level to ensure you get a nice smooth finish once the turf is put down. Continue to remove any stones and other debris at this stage, if you see any. Also, try to break up any clumps of soil that you encounter.
At this stage, you might like to make drainage considerations if you have clay soil and/or your garden is prone to flooding. You might like to shape the ground so as to help water run away from the lawn, to avoid puddles from forming in the future. You may need more topsoil to achieve this, depending on the shape of your garden.
While most gardens are relatively flat and don’t give you much opportunity to do this type of landscaping, it’s a good idea to at least ensure that you’re not leaving a low spot in the middle of your lawn, especially if you have clay soil.
Step 6: firm the soil
While you want to avoid laying turf on compacted soil, you also want to soil to be relatively firm for the turf to grow properly.
To firm the soil, you can do something called the “gardener’s shuffle”. This involves walking across the soil, pressing down each square inch of ground with your foot at one point or another. Essentially, you’ll be walking forwards but taking very small steps, shuffling forward and pressing down on the soil to compact it.
The gardener’s shuffle can take a while – if you have a big garden, it’s a good idea to get someone else to help out.
Step 7: water the soil, and lay down your turf
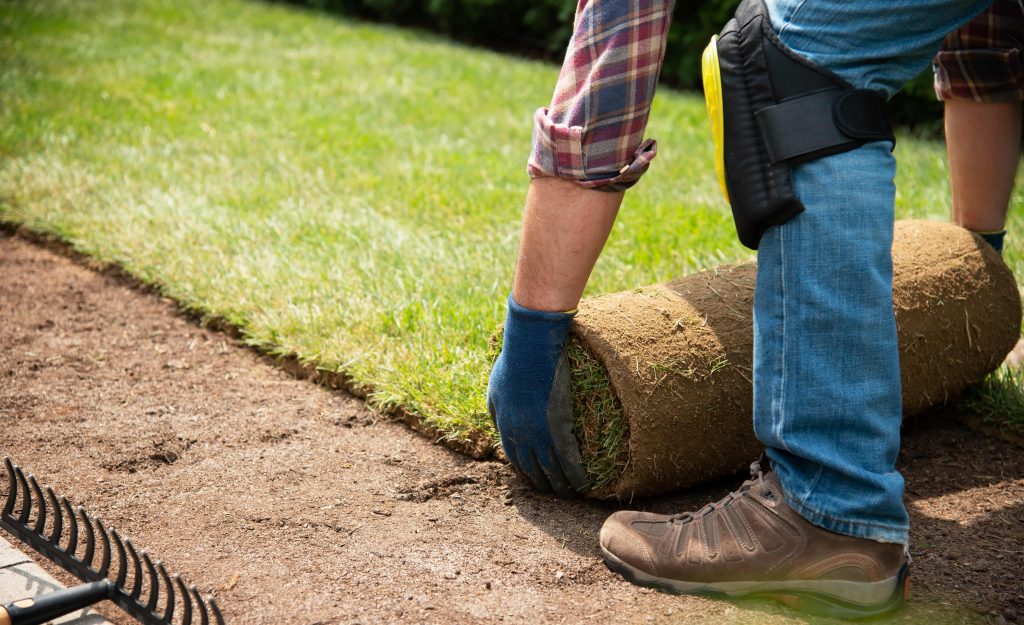
You want to lay your turf onto slightly moist soil, so if it hasn’t rained recently, give the ground a bit of a soak, but don’t make it extremely wet. Then, you can begin laying down your turf.
Step 8: create a plan of action and a timeline
Now that you know the steps involved in preparing the soil to lay turf, it’s a good idea to plan the process and create a basic timeline, to ensure everything goes smoothly.
When putting down new turf, you want to lay it as soon as possible after it arrives, otherwise some of the individual grass plants may begin to die.
Likewise, you don’t want to do all of this prep work too early, otherwise your garden might not be ready for turf when the delivery arrives. Leaves and other debris might blow onto the soil, for example.
Therefore, you need to create a turf preparation plan, to give yourself a timeline as to when each step in the process will take place, and how long it will take. This will allow you to have the garden ready just before or soon after the turf arrives, allowing you to lay it down nice and quickly.
Your plan of action will depend on the size of the lawn, and what preparation steps you need to take. For a medium-sized lawn, your soil preparation plan might look like:
- August 1: clearing debris
- August 5: rotavating
- August 6: adding a layer of topsoil, raking and firming the ground
In this case, you would order your turf to be delivered on August 7th. If it ends up arriving a day late, or you finish the prep work a day early, this shouldn’t be a problem, but you don’t want to have the turf waiting around for more than 24 hours, ideally. Therefore, if in doubt, schedule a later delivery date.
Bonus: ensure you’re laying turf at the right time of year
It’s also important to consider what time of year you lay down your turf.
Essentially, you want to avoid extreme weather when laying down turf. Don’t put down new turf when it’s frosty, otherwise the grass won’t grow properly. Likewise, avoid laying the turf down in the middle of summer, or it might suffer from heat stress.
The best time of year to lay down new turf is in the spring or autumn. You can also do it in the summer, but check the weather forecast to ensure that it’s not going to be too hot and sunny over the next few weeks. Late summer is better than early summer, as the weather is typically beginning to cool down a bit.
Conclusion
To learn more about laying new turf successfully, you might like to read our new turf care guide. This article explains how to maintain the health of your turf as it begins to grow.
If you have any questions about preparing your soil for laying down turf, feel free to ask us in the comments below.

I’m Josh, and I’m the head writer at Lawn Care Pro.
I love everything lawns, but I’m a bit of a lawn mower nerd. I spend a lot of my free time tinkering with mowers, and planning my mowing schedule for the next few weeks.
I’m also into cars, which comes in very helpful when servicing a mower engine!