

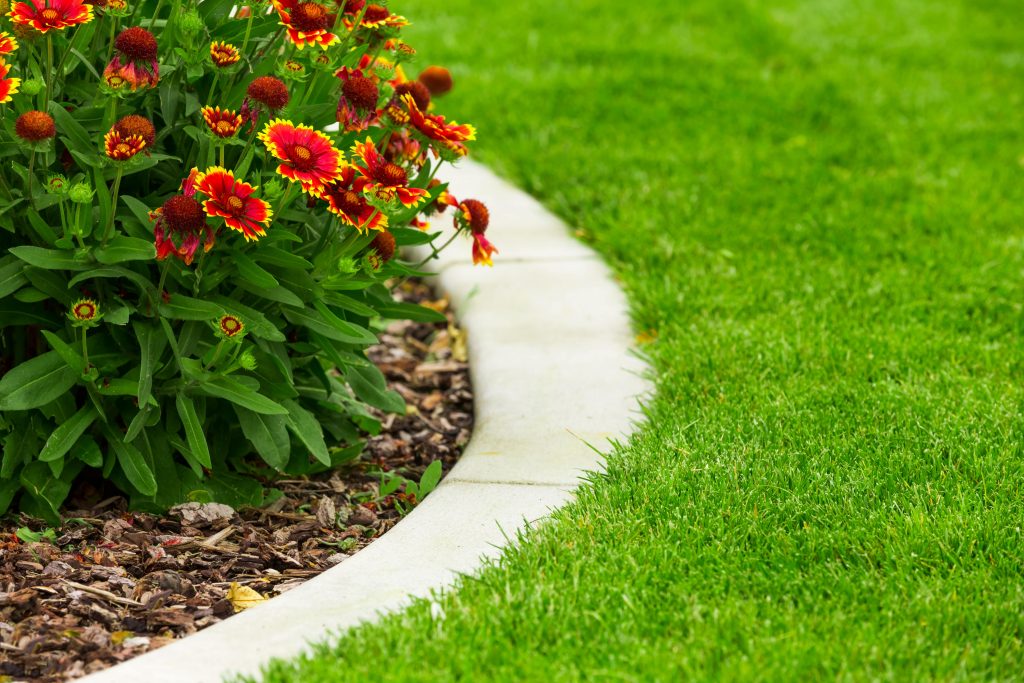
If you’ve got a flower bed that borders your lawn, you might be wondering how to create a clean edge between the two areas of your garden.
In this guide, we’ve explained how to separate your grass from your garden beds.
We’ve explained our method step by step, and looked at four different types of borders you can create.
Why create an edge between your lawn and flower bed
There are a number of different benefits to creating a well-defined border between your grass and your flower bed.
- It makes your lawn look a lot nicer, and makes your landscape look more neat and tidy.
- It can make mowing easier, depending on the type of edging you install. Having a border that sits flush with your grass can completely eliminate the need to use a strimmer, in some cases.
- It reduces the likelihood of weeds from your grass making their way into your garden bed.
- It prevents your grass from growing into your flower bed over time. If this occurs, it can make mowing your lawn a real nightmare, especially if you have mulch on your garden beds.
- Borders help to keep mulch in place in your flower bed, and prevent it from spilling onto the edges of your turf.
What you need to create a lawn border
For each of the different types of lawn borders we’ve looked at below, you’ll need the following tools to create the landscape you’re looking for:
- A half moon edger is very helpful for creating a crisp edge with your lawn. It cuts through the lawn’s roots, preventing it from growing into the border area, or into your garden bed. You can also rent a petrol or electric edging tool to make for more efficient edging if you have a large garden.
- A square, straight-edged spade will help you to dig a trench in the ground where your border will sit, or clear out turf once you cut an edge.
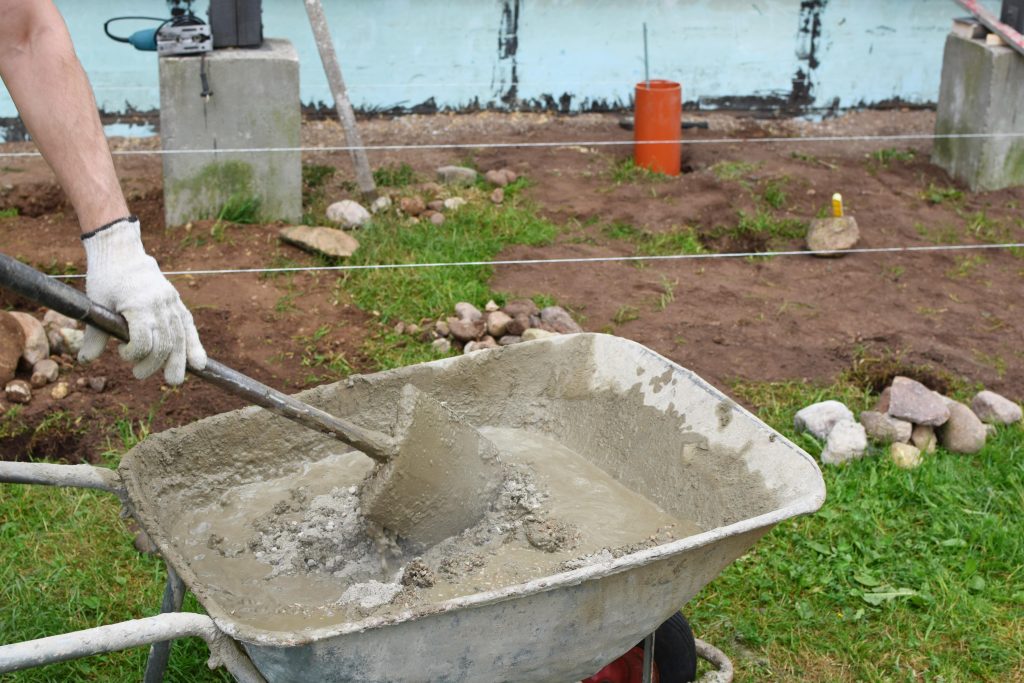
- A wheelbarrow is generally very helpful for excavating along where the border will be, and also for mixing cement, if you want to make this type of border.
- Measuring tape is helpful for ensuring that the edges of your trench run parallel to each other, and that your border is the same width across the entire boundary.
- If creating a curved edge, you will also want string, and a number of garden staples, to measure the length of the edge you’re creating. These measurements are helpful when ordering the materials you’ll need to create the border between your lawn and garden beds.
Gravel borders
Using gravel is an easy way to create a great-looking border on your lawn. It’s easy to install, and is also easy to maintain.
The only downside to gravel is it can be expensive if you have a large lawn. Also, it can become a bit messy over time.
To create a gravel border, you first want to dig a trench, which will be about 3-4 inches wide, and 3 inches deep. You can use a lawn edging tool and/or a straight edged spade to achieve this.
Next, clear the trench of any rocks and other debris, and line the edges of the trench with a weed membrane, using garden staples or large stones to keep it in place. You can cut the material to size with regular scissors.
Using a membrane helps with drainage, and prevents weeds from growing through the gravel. You can read our guide to laying gravel to learn more.
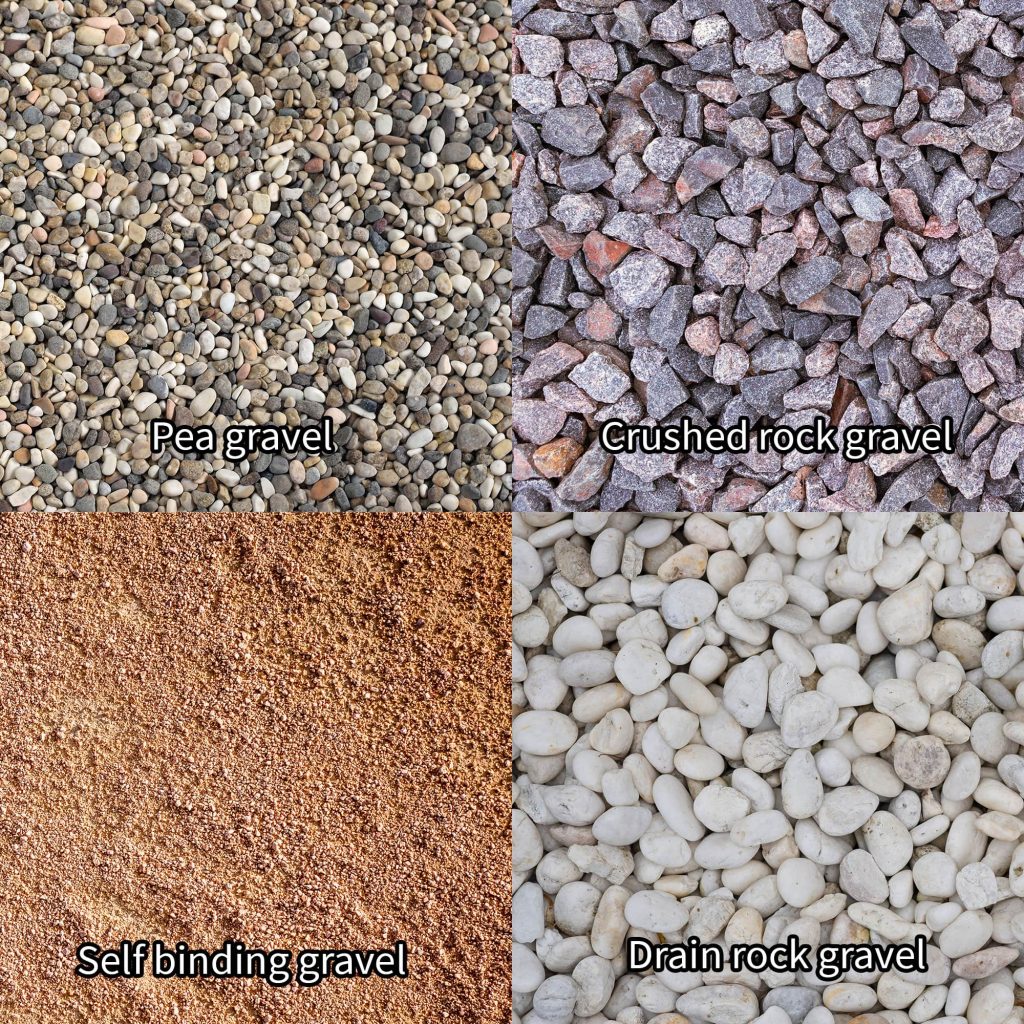
At this stage, you can pour your gravel into the trench you have dug, ensuring that there is no debris on top of the membrane. Pea gravel, drain rock or crushed rock gravel are good choices. You can also use self binding gravel, but it’s more designed for paths, and can get a bit messy when used for lawn edging.
The gravel may sink a bit over the next week or two, depending on the type of soil you have, so ensure to save some extra gravel available to top up the trench.
Brick borders
If you want something a bit cheaper, and that will last a bit longer, you can also lay down bricks to form a border between your grass and garden bed.
Although laying down bricks is a bit trickier than using gravel, it makes for much easier mowing, since you have a flat surface that won’t cause trouble as you mow.
To create a brick border, you want to first measure the length of the border, using a piece of string, or a rope. Then, pull the rope taut, and measure its length using your measuring tape. Divide the length by the length of your bricks (or their width, if you’re laying them vertically), then add 5-10 extra bricks, to determine the number you’ll need to buy.
Now you can begin to dig out your trench, using a square shovel, and a half moon edger. Ensure to leave at least an inch on one side of the hole, to give you some room to manoeuvre. The trench should be about 6 inches deep, and try to keep the floor as level as possible using your shovel. Keep the soil you remove in a wheelbarrow – you’ll need it later.
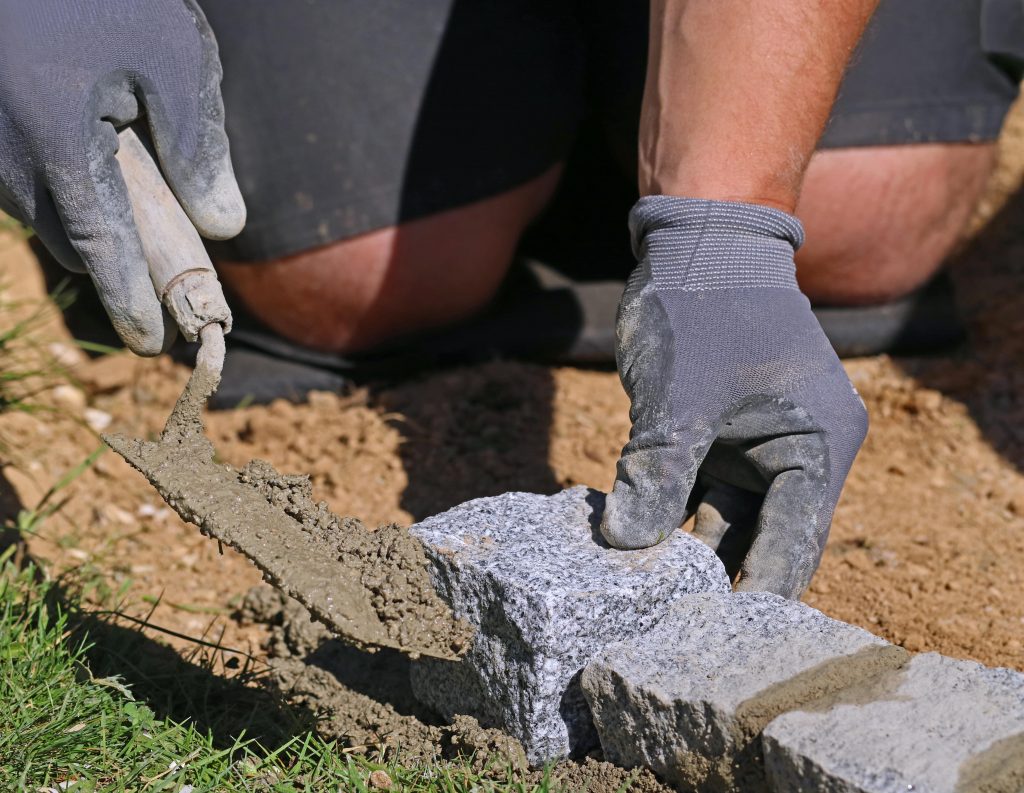
Spread a layer of sand on the base of the trench, to a depth of about 1 1/2 inches. Then, pour a layer of concrete, about 1/2 an inch deep, onto the floor of the trench.
Lay the bricks in place, using a rubber mallet to tap them into the correct position, and ensuring that they rest at the same height. To manage any areas on curves or corners where the bricks do not fit together along the edge, you can either:
- Cut a piece of brick to size using a circular saw, and put it in place.
- Fill in the area with cement.
- Fill in the area with polymeric sand, and then use a garden hose to spray the bricks, activating the polymeric sand.
Wait for 3-5 days until the concrete has set, and then use the soil you excavated to fill in any remaining gaps in the landscape.
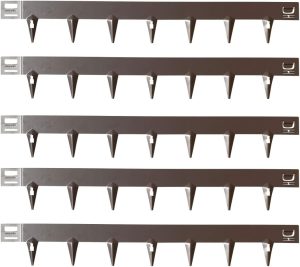
Plastic, rubber, or steel borders
If you’re short on space, and don’t want to reduce the size of your lawn too much, you can also install a plastic or metal material that stands up vertically, rather than laying in a large trench in the ground.
Apart from the space savings it allows, this type of edging is quite easy to install, and is also very cost-effective. It also helps you to easily create smooth, curved borders, since these edge products can be bent into your desired shape.
First, measure the length of the edge you will be creating, using a rope or piece of string, and use this information to order your edging material. Plastic is cheaper, and is easy to install, but isn’t quite as durable as using a barrier made of galvanised steel.
Using your half moon edger, cut the edge where you’ll be separating the grass and garden bed, on the grass side. Ensure to go at least 3 inches deep into the soil, to cut through the grass roots. Then, remove the turf on the outside of the border with a spade or trowel.
Check that the edge you have created is straight, and that there are no stones or plants that could get in the way. You may like to pre-bend the edge material into place, if there are curved lines along the edge you’ll be creating.
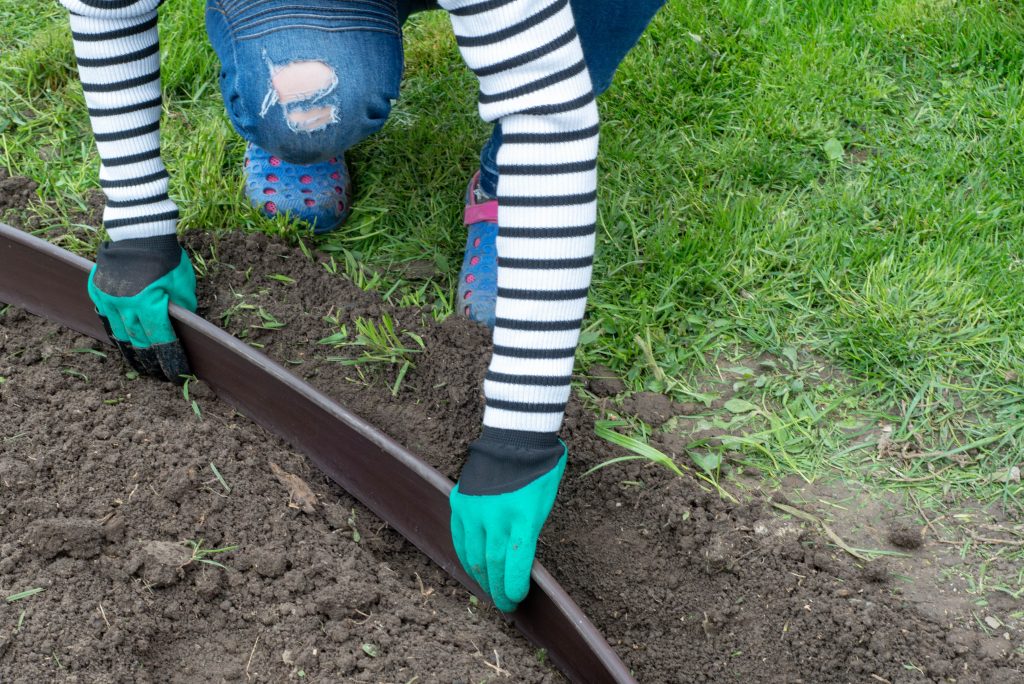
Then, beginning at one end of the boundary, push the edges into the ground until they are flush with the turf – they will be secured by their spikes. To get the spikes into the ground more easily, use a piece of wood, and hammer it with a mallet. Continue along the border, clipping each new piece of edging material into the previous one, and pushing it into the ground.
Typically, these types of edging products have clips at each end, which you can use to attach them to the previous piece. They can also be cut with a hacksaw if you need to use a smaller sized piece at the end of the job. If using steel edging for the project, it’s a good idea to file down the edge once you’ve cut it, as the material can be very sharp.
Concrete borders
If you have experience laying concrete, and want an edging solution that will last, you might also want to create a cement border.
Concrete borders work in a similar way to brick borders, except you don’t have to worry about weeds growing between each brick. Also, it can be easier to make curved edges using concrete.
The downside of course is you have to ensure to lay the concrete correctly, and ensure to get it smooth. You then need to prevent pets, children, insects or birds from walking on it as it dries, which can be challenging if you’re creating a large border.
To create a cement lawn border:
- Clear the area around where the border will be – for example, removing mulch that could tip into the concrete as it sets.
- Calculate how deep and how wide you would like the border to be. The border should be at least 3 inches deep, to prevent the lawn from growing underneath it. This assumes that your cement will sit flush with your lawn. The border should be about 3-4 inches wide.
- Using a square shovel, dig a trench where you would like to pour the concrete, about two inches wider and an inch deeper than your border will be. Try to keep the walls as vertical as possible, and keep the floor of the trench flat.
- Using strips of plywood, line the sides of the trench to prepare for the concrete to be poured. Use plywood that is no more than 1/4″ thick, to ensure it can bend to the contours of your trench. Use wooden stakes at each end of your plywood strips to keep them in place, nailing or screwing through the plywood strips from the front into the stakes to secure them, and ensuring that the stakes are at least 4 inches into the ground.
- Continue lining both sides of the trench, continually checking to ensure that each side is equidistant from the other. You can also use more wood stakes on the outside of the strips (on the dirt side) to keep them in place.
- Lay gravel on the floor of the trench, at about an inch deep, to act as a base for the concrete. Ensure that the base is level.
- Mix your cement in a wheelbarrow, and place it into the trench, in between the two strips of plywood.
- Using a hand trowel, smooth the surface of the concrete.
- Wait five days, or until the concrete is set, and remove the plywood strips and stakes.
- Infill any leftover space where the plywood was with dirt.
Conclusion
This is the end of our guide explaining some ideas to make a great looking border between your turf and the soil or mulch in your garden bed.
Hopefully this guide gave you some landscaping inspiration.
If you have any questions about each of these different border options, feel free to leave a comment below.

I’m Josh, and I’m the head writer at Lawn Care Pro.
I love everything lawns, but I’m a bit of a lawn mower nerd. I spend a lot of my free time tinkering with mowers, and planning my mowing schedule for the next few weeks.
I’m also into cars, which comes in very helpful when servicing a mower engine!